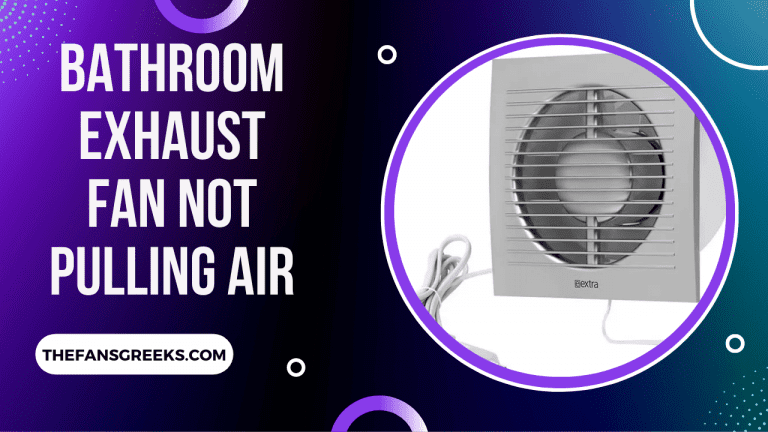
Bathroom Exhaust Fan Not Pulling Air [FIXED]
Despite their importance, bathroom exhaust fans are often overlooked. It is apparent when these fans stop working properly when they are not working as they should.
Initially, you will have to deal with foul odors, but over time, mildew, mold, and water damage will result from the moisture your fan helps remove. Regardless of whether your fan is ineffective or unable to cope with the size of your bathroom, you can fix the problem.
There are a number of possible reasons why your bathroom exhaust fan is not pulling air. All of them are discussed in this article. Lastly, some solutions will be offered to fix this problem, including a way to test your fan.
Here we go.
Why Is My Bathroom Exhaust Fan Not Pulling Air?
Duct Issues
Bathroom fans that do not pull air often have a problem with the ductwork. Your ductwork could be causing this problem for a number of reasons. In some cases, the ductwork might take a long or unnatural path to the outside vent, resulting in poor airflow.
It’s also possible that there isn’t any duct at all, and the fan is blowing directly into the insulation. A second option is to have ductwork connected to the outside, but not to the outside.
Blockage
It is common for bathroom exhaust fans to experience blockages, which severely limit the amount of air pulled in by them. Your fan blades can become clogged with dust, mold, and other unwanted debris, preventing air from flowing smoothly. Lack of cleaning is usually to blame for this.
The system can also experience blockages elsewhere. The airflow inside your ductwork can be blocked by a large object, for instance. Additionally, if leaves or other materials are blocking the vent outside, your airflow will suffer.
Small Vent Pipe
Most bathroom fans were installed with a vent pipe that accommodated it, and the two were great together. Someday, you decide you want a more powerful bathroom fan.
As a result, when you upgrade your fan but not your vent pipe, you find that your airflow is now hindered because the vent pipe is now too small to handle the powerful fan.
Electrical Issues
Electrical systems are the least likely culprits, but they can cause problems. You may not be able to power your fan if you live in an area with an unstable electrical grid.
Most likely, your fan is not working properly due to loose or faulty wiring. Your bathroom fan will stop working if you have an electrical issue that gets worse over time.
How to Test Your Bathroom Exhaust Fan
The Toilet Paper Test
Toilet paper can be used to test the suction of your bathroom fan. Toilet paper is all you need for this test.
The toilet paper square should be held up to the cover of your bathroom fan while it is turned on. If your fan is set up correctly and has sufficient airflow, the toilet paper should adhere to the cover as a result of its suction power.
You will see the toilet paper floating to the ground when your fan is turned off. During operation, if toilet paper does not stick to the fan’s cover, it indicates that the fan is not producing enough airflow.
How to Fix Bathroom Fan Poor Airflow
Tools You Will Need
- Eye protection
- Masks for dust protection
- An electric screwdriver
- Small Brush
- Step Ladder
- Voltage Tester (MultiMeter)
- Utility Knife
- Caulking Gun with Silicone Sealant
- Drill Gun
- Standard Roofing Ladder
Solutions
Resolving Issues With Your Ductwork
Step 1.
You should wear some clothing you do not like when dealing with ductwork issues, as well as protective eyewear and a dust mask.
Step 2.
The ductwork above your bathroom can be found in your attic.
Step 3.
The ductwork path should be inspected to see if it leads to an outside vent or if it takes a long and inefficient path.
Step 4.
Shortening ductwork paths and removing bends can be done by hand.
Step 5.
Locate your outside vent and connect your ductwork to it with a coupling if your ductwork doesn’t lead to one. With a screwdriver, you can usually accomplish this.
Step 6.
You should replace damaged or bent ductwork with new ductwork if it is too bent or otherwise damaged.
Unclogging Blockages
Step 1.
Your first line of defense against blockages is behind the blades of your fans.
Step 2.
Put on protective eyewear and a dust mask after removing the fan cover with a screwdriver. If you are having difficulty unscrewing the cover, try using a step ladder.
Step 3.
If your fan is blocked by debris, remove the cover and clean it with a small brush.
Step 4.
You may need to locate the outer vents, which are usually located on rooftops or on an exterior wall outside around ground level.
Step 5.
Whenever possible, check your vents for debris (usually fallen leaves), then remove it either by hand or by unscrewing the vent cover.
Step 6.
You should also check your ductwork for blockages. Your attic should now be equipped with a dust mask and eyewear.
Step 7.
You can detect obstructions inside your ductwork by lifting or running it through your hands.
Step 8.
Removing the object is as easy as unscrewing a coupling and one end of the ductwork.
Installing a Larger Vent Pipe
Step 1.
It is necessary to remove the old vent pipe before installing a larger one. Take care, be cautious, and don’t fall off your roof while performing this work. You may need to climb a ladder to access your roof.
Step 2.
You can remove the vent pipe by unscrewing the metal cap or cover, which is likely to be on your roof or at ground level. Once the tape or sealant holding the pipe in place has been removed with a utility knife, you can proceed to remove the pipe itself.
Step 3.
You will be able to remove your old vent pipe after going into your attic or basement.
Step 4.
The new pipe should be inserted through the old opening from inside your home. Depending on how far it extends outside, the pipe will be marked.
Step 5.
Your pipe should be permanently attached to the opening using silicone. The other side should be done in the same way.
Step 6.
Your ductwork needs to be connected to the new ventilation pipe.
Step 7.
You may need to install an exterior cap or cover depending on your vent system.
Step 8.
Then test your fan to see if you have an improved airflow with the new vent pipe, and follow the manufacturer’s instructions to complete the process.
Checking for Electrical Issues
Step 1.
You can begin by checking your wiring if you suspect that poor airflow is caused by electricity.
Step 2.
Follow the instructions in the section on unclogging blockages to remove the fan’s cover.
Step 3.
Be sure to inspect your wiring for fraying, loose connections, or other damage.
Step 4.
It is also a good idea to check the voltage coming through the wiring with a MultiMeter or other voltage tester.
Step 5.
If you want to find out how much voltage your fan needs, consult its specifications.
Step 6.
There may be an electrical issue with your fan if the voltage tester shows a reading that is lower than what is stated in the fan’s specifications.
Step 7.
Consult a professional electrician if your wiring has low voltage or is damaged.
![How to Clean NuTone Bathroom Fan [Step-by-Step Guide]](https://www.thefansgreeks.com/wp-content/uploads/2022/08/How-to-Clean-NuTone-Bathroom-Fan-768x432.png)
![Bathroom Fan Stopped Working (Won’t Turn On) [FIXED]](https://www.thefansgreeks.com/wp-content/uploads/2022/08/Bathroom-Fan-Stopped-Working-Wont-Turn-On-FIXED-768x432.png)
![My Bathroom Fan Won’t Turn Off [FIXED]](https://www.thefansgreeks.com/wp-content/uploads/2022/08/My-Bathroom-Fan-Wont-Turn-Off-768x432.png)